As I've mentioned before, our house continues to be generous in all the old (and sometimes like-new) items it "gives" us (i.e. that we discover or uncover on the grounds or in a storage area). In this case, the gift from our house was this wooden croquet set.
 |
| Before - all wood croquet set, weather-worn |
 |
| Another Before - Pretty faded |
You can see it was faded, cracked, wobbly, and pretty worse for the wear. BUT the joints were all good and none of the cracks were deathly (in other words - none of the cracks affected the integrity of the pieces). So one HOT (more on this later) Saturday afternoon we sat on the deck with tools in hand and got to refurbishing.
If you've refurbished anything then you know the first step is disassembly.
After that, with wood at least, comes sanding. We sand, sand, sanded until all the parts and pieces were stripped and exposed fresh wood that was previously hidden beneath the layers of time.
After sanding, it's time to prep for paint. Get all that dust off the wood - my favorite product for this is the tack cloth that's found in the paint section of your local box store. However, all the crevices in these parts were filled with dust, so I lightly rinsed them under running water.
Did I mention it was a hot day?
So we let the pieces dry, which took probably 5 minutes because we live in the high desert region that is Denver (it's a dry heat).
And then began the painting process.
Croquet memories from my childhood camping days are hazy but I strongly recalled the set was painted like a rainbow, with each mallet displaying a separate color. So that is the template we chose to take. I'm sure you could choose any number of paint choices (such as NFL team colors) and achieve something just as beautiful.
 |
| fun with craft paint |
After the paint dried, Mr. DIY had the genius idea to treat the rest of the newly exposed wood with Tung Oil. If you are unfamiliar with Tung Oil it is a favorite among woodworkers as it nourishes and seals wood without staining it - although we did read that some folks think it has a yellow tone so if you have a very blonde wood then you might want to use an alternative. For our purposes though, the tung oil seemed miraculous in its results.
 |
| Tung Oil brought the wood back to life |
 |
| either Poly OR Oil the wood, don't try to do both |
Then we reapplied the tung oil and touched up the paint.
Final step is reassembly and then play a game of croquet. Next time, we'll either do tung oil OR poly and never try both again.
 |
| After |
 |
| After |
Bye-bye neighbor!
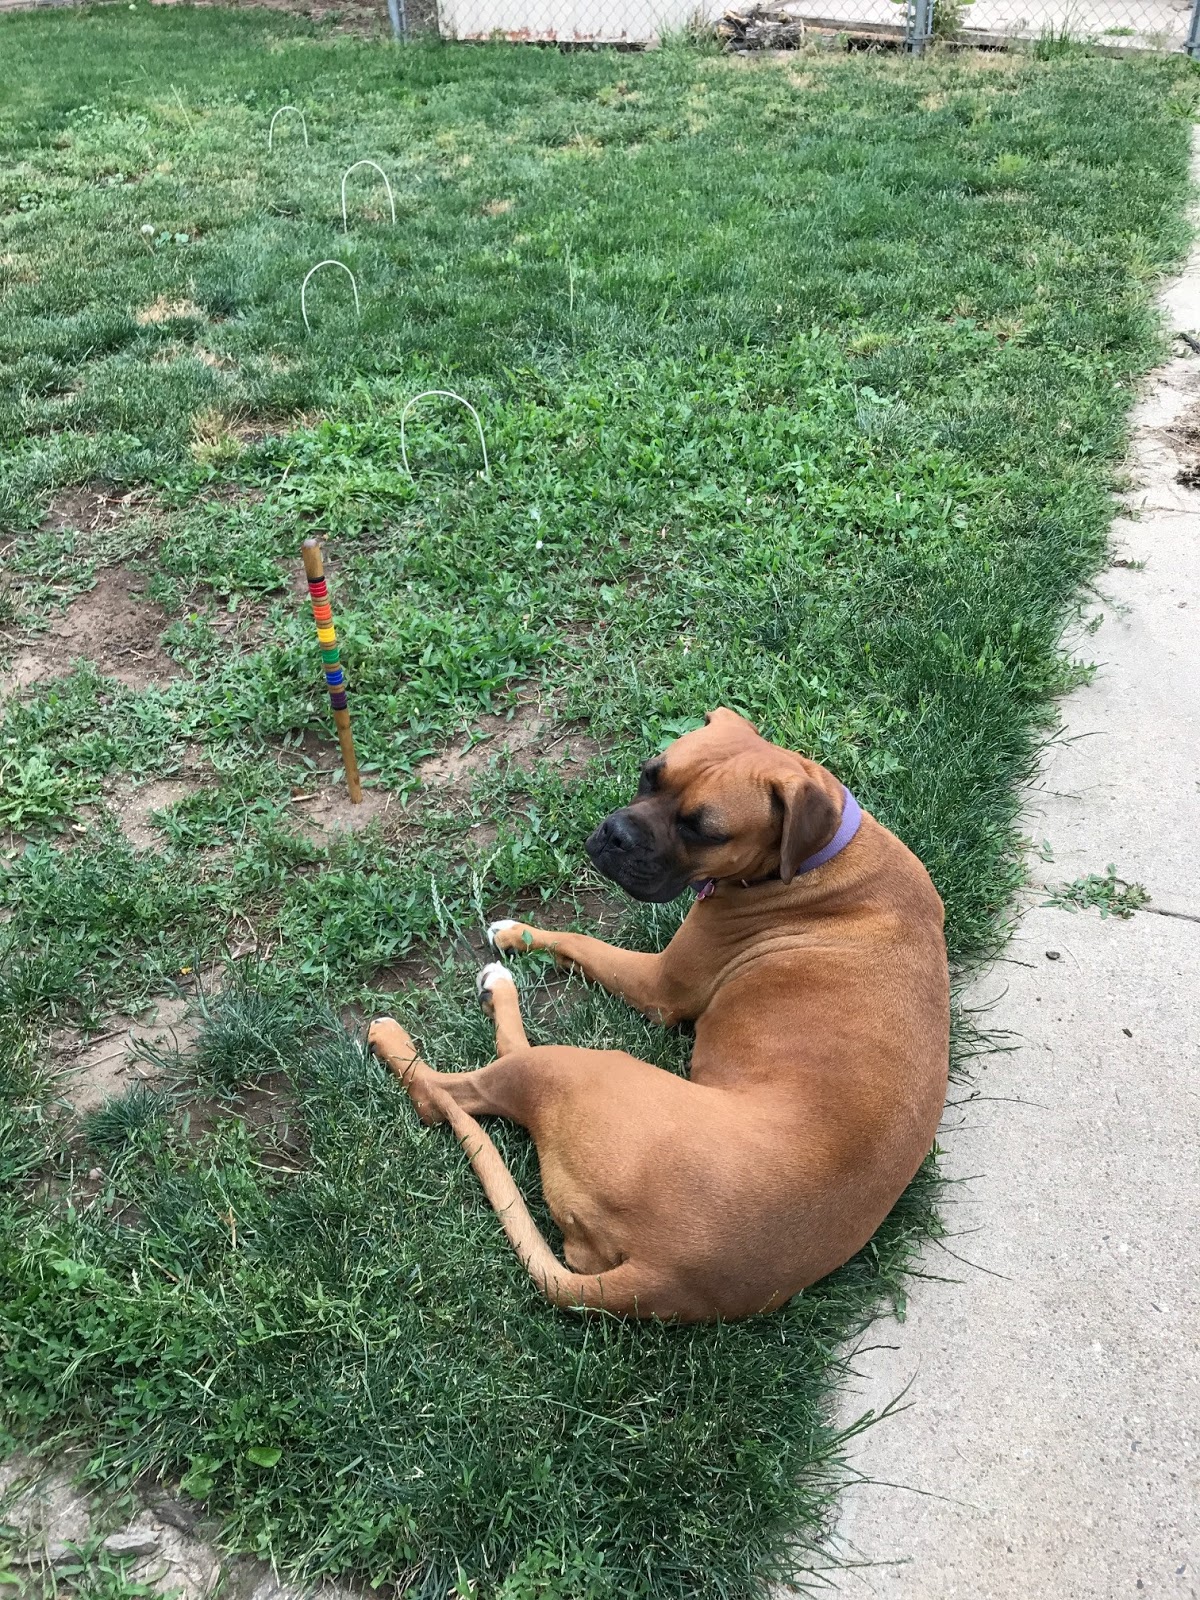 |
| Ms. Petunia is ready for a game of croquet |
Note for next time: Your mistake with the Poly was -- judging from the photo -- using a water-based poly. With finished you keep like with like, so you should have used an oil based poly.
ReplyDelete